
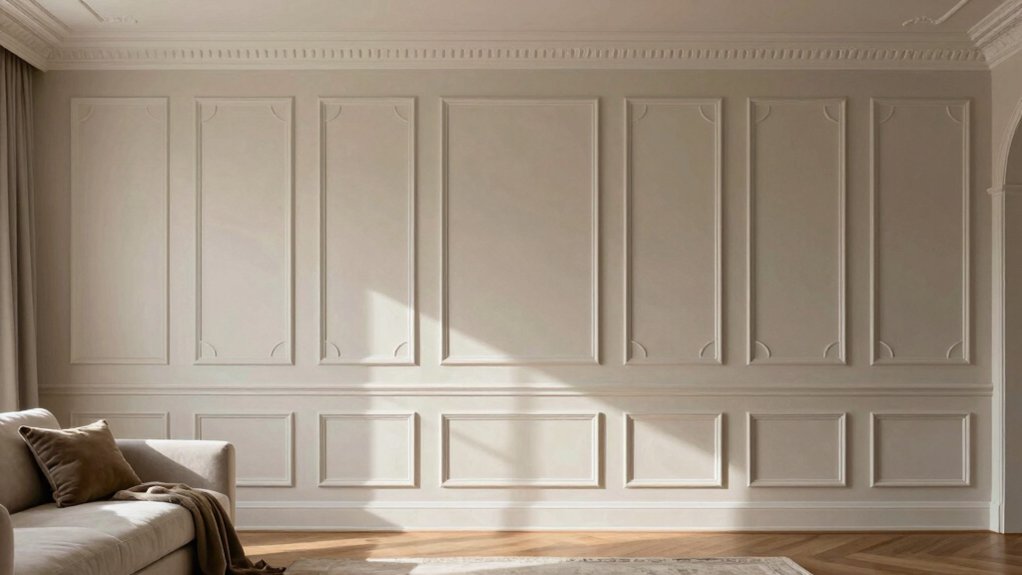
Blank walls used to bug me too, so I started testing wall frame molding with a glue gun, brad nails, and cheap trim. I’ve made classic rectangles, full-wall grids, half-wall wainscoting, thin frames, and even IKEA-plus-Dollar-Tree combos. MDF works great in bedrooms, PVC holds up in bathrooms, and tone-on-tone paint keeps things calm. My favorite surprise? Asymmetrical panels can look elegant fast, and I’ve got a few more tricks up my sleeve if you keep going.
Key Takeaways
- Classic rectangular panel molding with simple trim adds a tailored, elegant look to blank walls.
- Full-wall grid layouts create balanced, custom depth using even spacing and clean, level lines.
- Large ceiling-to-floor panels make rooms feel taller and more dramatic with oversized proportions.
- Moisture-resistant PVC, beadboard, or wainscoting work well for bathrooms and busy hallways.
- Tone-on-tone paint, wallpaper inserts, and asymmetrical layouts add modern depth without overwhelming the room.
Classic Rectangular Panel Molding
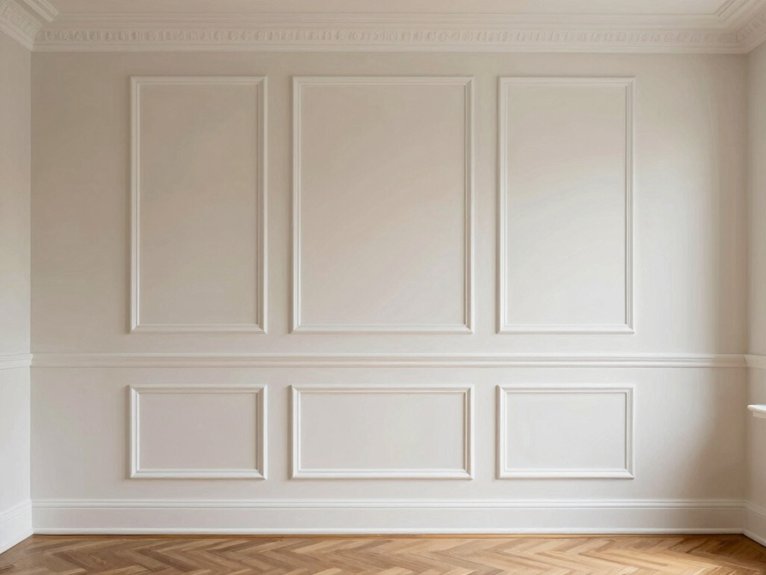
Blank walls can make a room feel a little too “rental chic,” which is my nice way of saying boring. I’ve fixed that with classic rectangular panel molding, and it felt like giving my walls a little suit jacket.
I like simple trim profiles, from 1/4-inch lattice to 1-inch square moulding, because they look polished without shouting. My favorite installation tips: map the rectangles first, keep spacing even, and cut clean 45° corners.
I’ve used MDF, primed wood, and even PVC in a bathroom. A glue gun, brad nails, and caulk make the finish look surprisingly elegant.
Full Wall Panel Grid Design
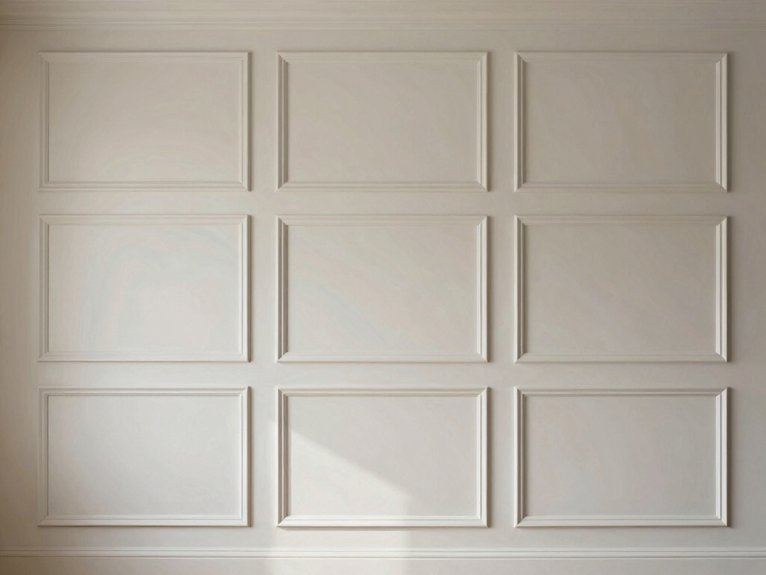
If your wall feels plain and a little too loud, I’ve found that a full wall panel grid design can calm the whole room fast with a clean, symmetrical layout.
I like to mark it out with painter’s tape first, then use simple trim, a level, and a few Dollar Tree spacers so every box lines up—because nothing says “DIY” like fixing one crooked panel for the third time.
The best part is how a balanced grid can make a basic wall look custom and surprisingly polished, even if you start with budget materials from IKEA or the hardware store.
Symmetrical layout
I usually start by measuring the wall width, then I sketch out the panel count and edge gaps so I’m not eyeballing it like a raccoon with a ruler. A symmetrical layout gives me balanced proportions and clean grid symmetry, which makes a room feel calmer fast.
I use a laser level, painter’s tape, IKEA frames, and Dollar Tree lattice, then cut everything before I touch glue. I keep 3–5 columns and 2–3 rows, leaving even side gaps. On one hallway wall, I painted the trim the same color as the wall, and it looked taller, brighter, and way more finished.
Half Wall Wainscoting Style
| Choice | Note |
|---|---|
| MDF | cheap, easy |
| PVC | moisture resistant |
| Wood | classic, but fussy |
| Chair rail | clean finish |
| Beadboard | period appropriate |
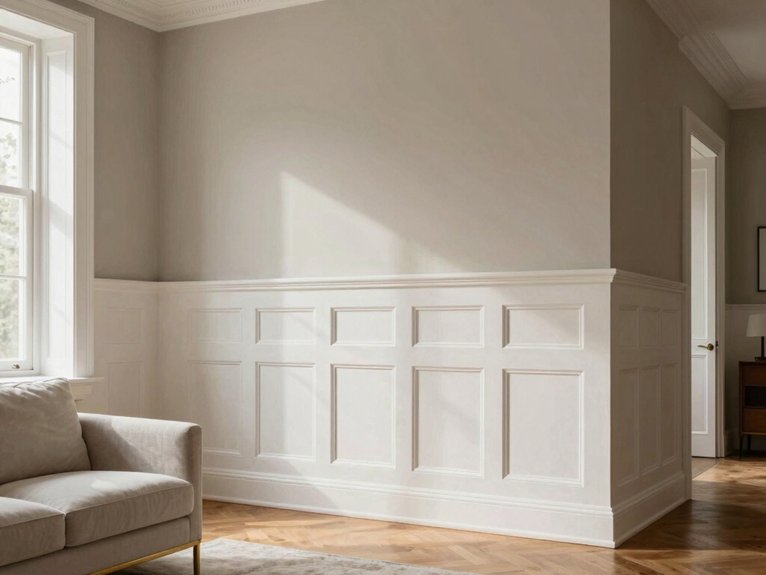
I used glue, a nailer, and Dollar Tree spacers. After caulking and paint, my wall looked polished, and my scuffs disappeared. It felt like the room finally belonged to us.
Minimal Thin Frame Molding
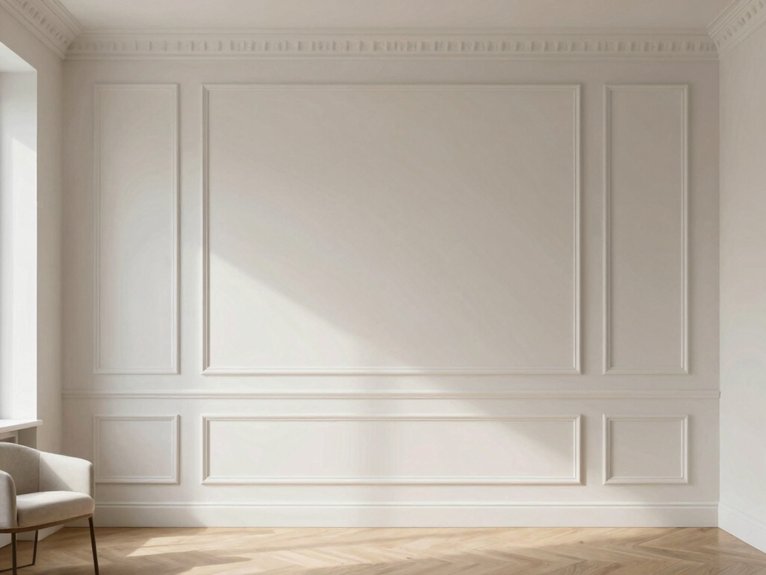
My blank wall felt like a giant missed chance, so I tried minimal thin frame molding to bring in those modern clean lines without making the room feel busy.
I used thin MDF strips, a tape measure, and my trusty brad nailer, and even a slightly crooked first cut still looked good once I fixed it with caulk and paint—thank goodness for small wins.
If you want a calm, polished look, I’ll show you how these slim frames can make a room feel crisp, simple, and way more finished.
Modern clean lines
For this kind of DIY, I keep it simple: 1/4″ lattice or slim MDF strips, a brad nailer, wood glue or adhesive, painter’s caulk, and a level or laser.
My blank hallway finally got modern clean lines, and the clean geometry made it feel calm instead of crowded.
I cut thin boxes, set the top pieces first, then checked for seamless intersections before nailing.
I keep spacing around 8 inches so the rhythm feels right.
I paint the frames the same eggshell as the wall, and honestly, that’s the magic.
It reads like depth, not decoration—very “I’ve got this.”
Large Statement Wall Panels
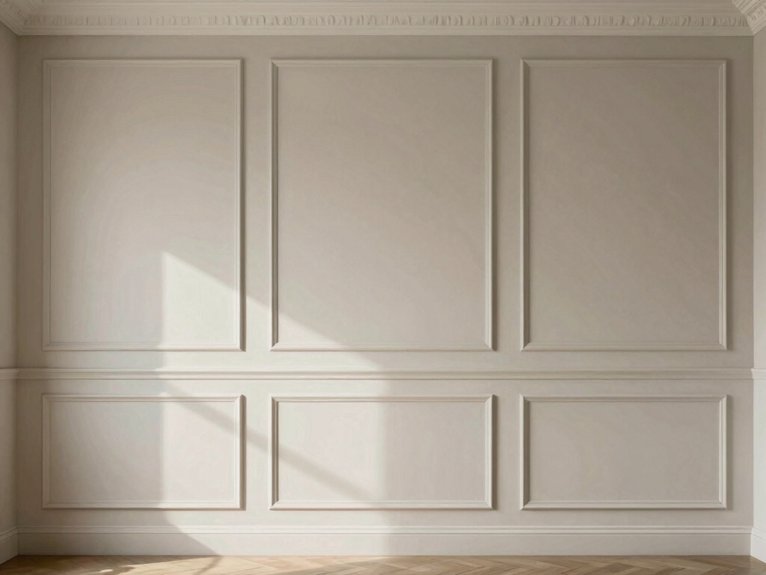
When a big blank wall makes a room feel a little unfinished, I like to turn to large statement wall panels because they can flip the whole mood fast without making me lose my weekend. I build oversized rectangles with wider trim, then I space them 3 to 5 inches apart so the wall feels calm, not crowded.
On my last sofa wall, I used IKEA frames, a glue gun, and a brad nailer—tiny chaos, big payoff. For a bigger punch, I love color drenching panels in the same paint as the wall. It looks polished, cozy, and quietly elegant.
Ceiling-to-Floor Frame Design
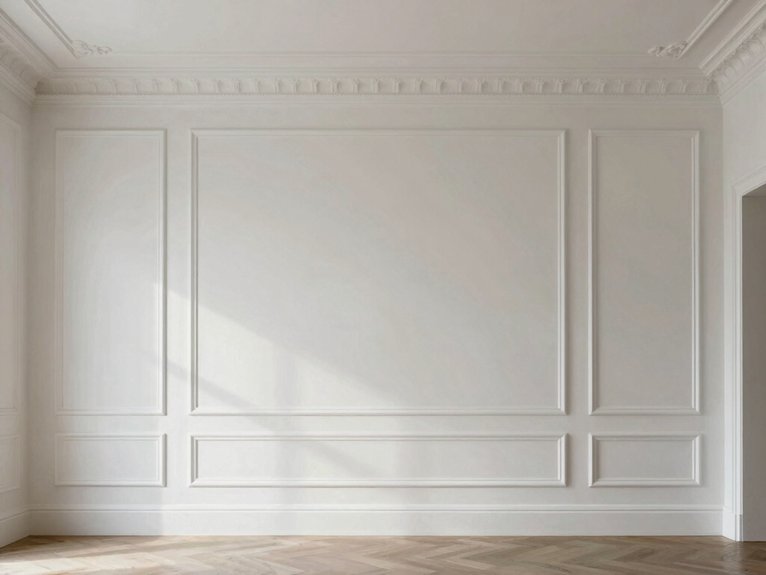
I keep the frame widths fairly narrow, around 12 to 18 inches in an 8-foot room, because skinny verticals give that nice “wow, this wall got taller” effect without turning the wall into a barcode.
When I want vertical continuity, I mark the top and bottom first, then run slim trim from baseboard to ceiling molding for a clean ceiling to floor rhythm. I use a brad nailer, a little wood glue, and paintable caulk. Same-color paint makes it feel calm and pulled together.
It’s beginner-friendly, and yes, it’ll fool your guests into thinking you hired help.
Accent Wall with Molding
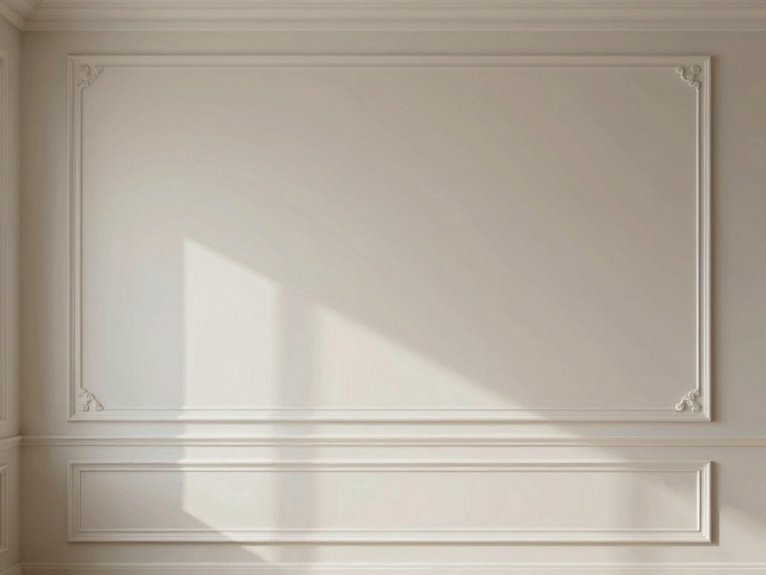
Blank walls can make a room feel a little unfinished, like it’s waiting for its turn to get dressed. I’ve fixed that with accent wall molding, and it’s easier than it looks.
- I sketch boxes first.
- I cut 1/4″–2″ trim with a cheap miter saw.
- I use glue, brad nails, and a glue gun for quick holds.
For bold contrasts, I once framed IKEA art and added floating shelves below. The molding turned a plain wall into a cozy focal point.
I messed up one cut, of course, but extra 8-foot stock saved me. It felt like home.
Neutral Painted Molding Look
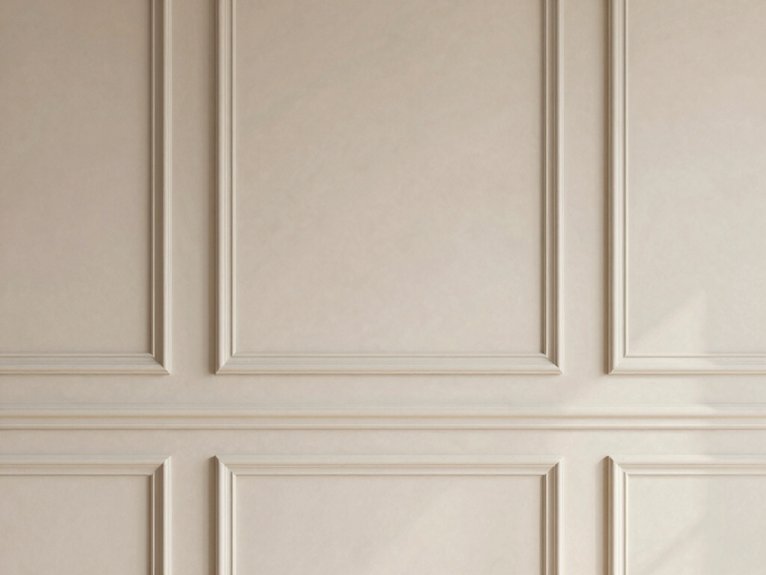
My blank wall used to feel a little too loud, so I tried a neutral painted molding look and suddenly the room felt calmer, like it could finally exhale.
I painted the picture-frame trim the same soft gray as the wall, used my glue gun, a few Dollar Tree finds, and one IKEA frame test piece, and the whole thing turned into a smooth monochrome finish with more shadow than contrast.
It’s a small DIY win, and honestly, the best part is that the molding looks elegant without shouting for attention—kind of like the room put on a clean sweater.
Soft monochrome effect
- I prepped IKEA frames, then hot-glued them level.
- I brushed two thin coats, and the shadow lines did the ornate work.
- I matched the trim width to my ceiling height; tiny rooms liked slimmer profiles.
It’s easy, affordable, and honestly feels like a hug for the room.
Dark Painted Molding Wall
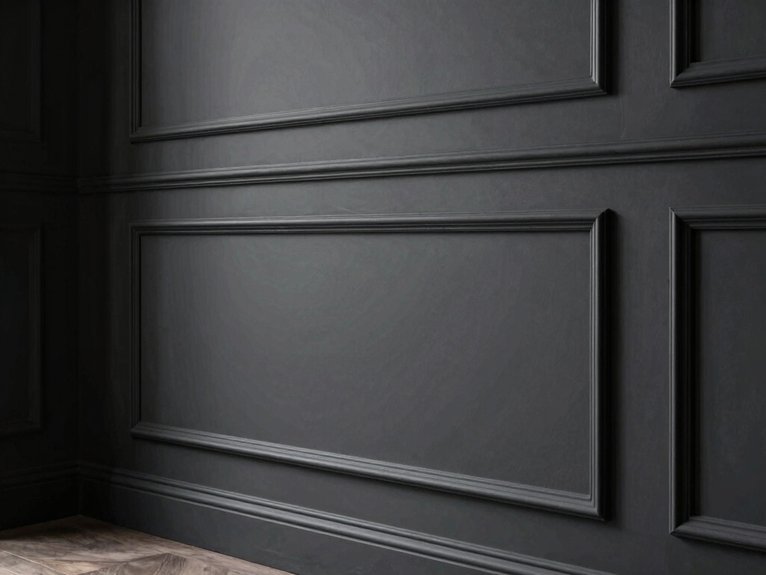
I started with wider trim pieces so the pattern wouldn’t vanish once I painted everything dark, and that made a huge difference right away. My dark painted molding wall turned a plain room into moody contrast with real architectural drama.
| Material | Why I used it |
|---|---|
| PVC trim | Great for my steamy bath |
| MDF, primed | Smooth finish, no warping |
| Brass sconces | Bounced light around |
I glued Dollar Tree spacers, taped my IKEA frames, then rolled on charcoal eggshell paint. Small mistake: thin trim looked lost, so I switched to thicker rails. Keeping the ceiling trim lighter saved the room from feeling boxed in.
Layered Molding with Wallpaper
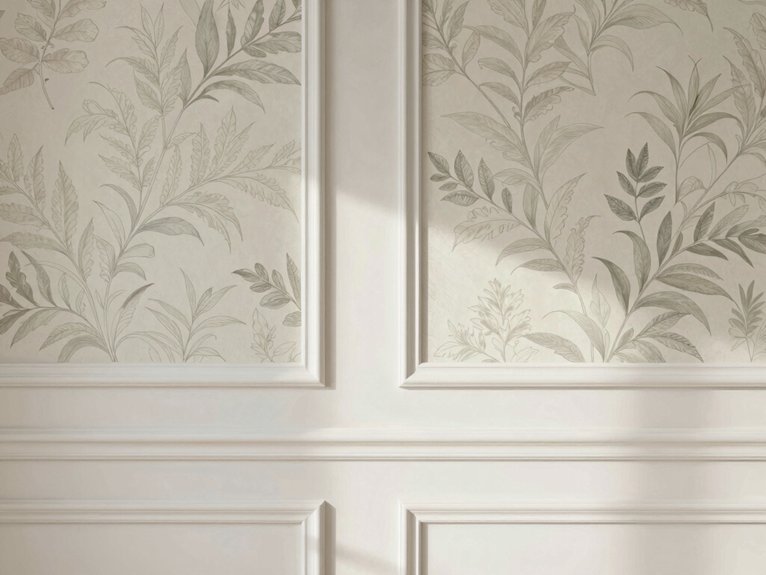
My blank wall used to feel like a giant missed opportunity, so I tried layered molding with wallpaper and was surprised by how much texture it added without a full remodel.
I used Dollar Tree trim, a glue gun, and a bold wallpaper scrap inside IKEA-style frames, and the mix of smooth paint, crisp lines, and busy pattern made the wall look custom instead of cluttered.
If you’re worried it’ll look messy, start with one panel first, because a little caulk and a steady hand can turn a small oops into a pretty nice win.
Texture combination
Texture changed everything the day I turned a boring wall into a little “framed art” moment with layered molding with wallpaper. I used IKEA frames, Dollar Tree trim, and a glue gun, then added wallpaper with tactile contrasts for instant charm.
- I picked a subtle grasscloth print so the molding stayed in charge.
- I painted the trim the same satin color as my room for a clean, cozy look.
- I sealed edges with paintable caulk because peeling isn’t my love language.
In my bath, PVC trim and vinyl wallpaper held up best. The surprise? fabric panels-inspired depth without the fuss.
Hallway Frame Molding Design
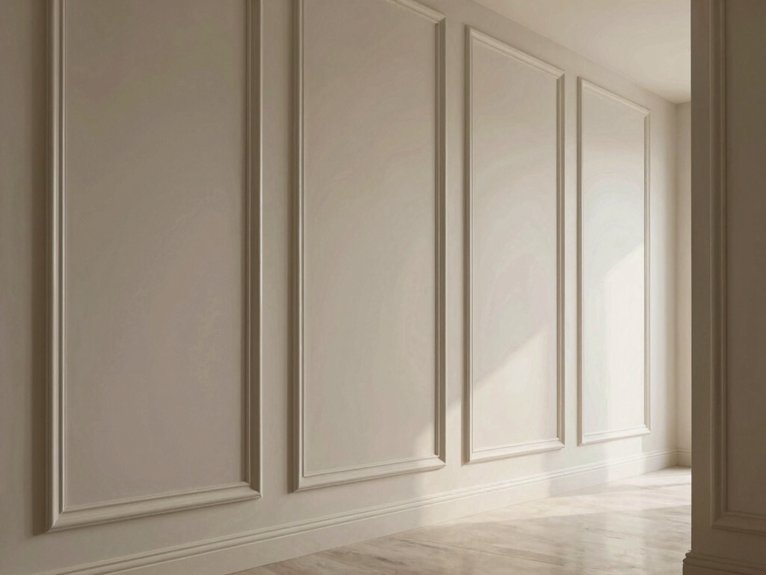
For a simple DIY version, I like to sketch the layout first, then space the frames about 4–6 inches apart and keep them 3–4 inches off the baseboards and ceiling so the whole thing looks balanced.
In my narrow hallway, I used traffic friendly materials like PVC and painted them the wall color, so the trim blended in instead of crowding the path.
I cut 1/4-inch lattice, glued it with a glue gun, and added a chair rail at 34 inches for rhythm.
Small IKEA frames helped me test the look.
Tiny wins, big glow-up.
Bedroom Headboard Wall Molding
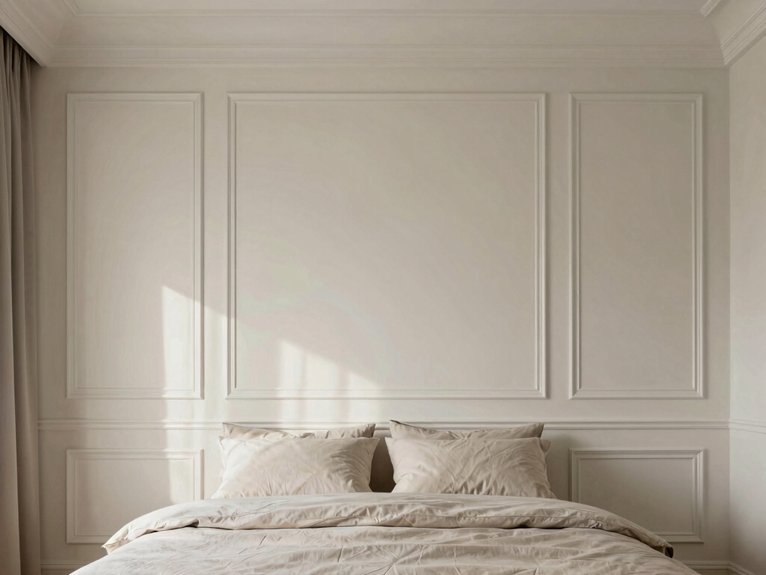
I kept the lowest box just above my nightstand height so the trim didn’t crowd the lamps, and I used wider MDF trim for a clean, modern look that painted up really smooth. That simple choice turned my plain wall into a cozy framed fabrichead moment, and I finally felt like my room belonged to me.
- I measured three IKEA frames across the bed, then glued them up with a cheap glue gun.
- I kept the center box at headboard height for balance.
- I planned built-in headboardlighting first, so the sconces lined up and didn’t need a “fix-it later” patch.
One coat of satin paint tied it all together fast.
Modern Asymmetrical Molding Layout
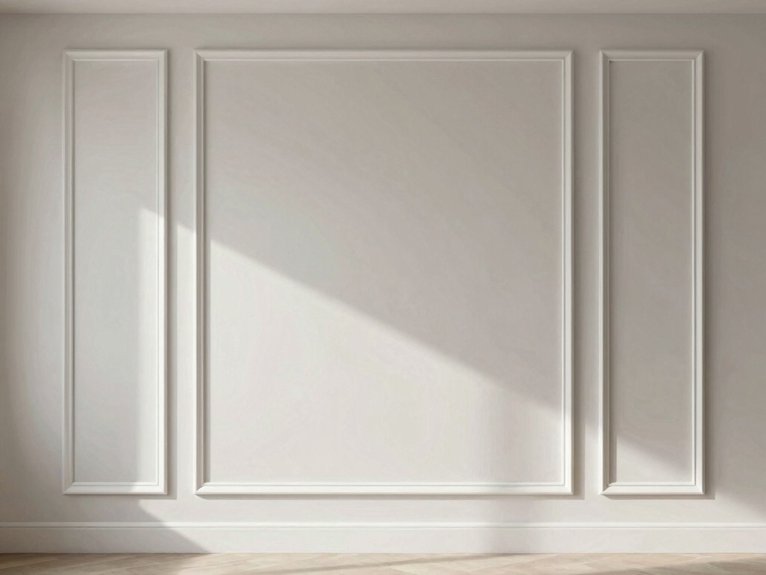
I measured the wall first, marked the center, then planned the horizontal layout before anything else so the spacing didn’t turn into guesswork—because “close enough” isn’t a fun design plan when you’re holding a nail gun.
I love a modern asymmetrical molding layout because it feels fresh and welcoming, not fussy. I use asymmetrical proportions, pairing three narrow panels with one wide one, plus mixed materials like thin lattice and thicker square trim. I’ve even tested IKEA frames and Dollar Tree fillers with a glue gun. The trick? Stagger heights, keep gaps modular, and paint everything tone-on-tone for a clean, calm finish.